Thursday, March 29, 2018

YAY!! It's Tag Friday @ A Vintage Journey

It seems like a long time since we have done a Tag Friday but it is finally time once again to share some creative tags.  I hope you will stop over to see what the Creative Guides have done for you this time - simply CLICK HERE.

With Easter only 2 days away I just had to use this adorable bunny one more time.  He is from Elizabeth Craft Designs and I have linked everything I've use below.


Wishing all of you happiness and joy,
S@ndy

Sunday, March 25, 2018

Thinking of You for Dies R Us

Hi all -

I hope to see you over at the Dies R Us Inspiration Blog today where I will be sharing how I made this card using the Lake Scene die set from Elizabeth Craft Designs.


See you there,
Sandy

Thursday, March 22, 2018

Congrats

Hi friends and welcome,

Today I'm sharing a card I made for a friend who is retiring.  I used some great dies from
Karen Burniston.  The Palm Tree with the hammock was perfect for this.

This was such fun because it was sooo easy!  I have linked all the dies below so you can shop and I have linked Karen's video on how to assemble the dies.  Enjoy -


The card opens up flat to reveal the palm trees standing up.


To see the assembly video CLICK HERE.

Have a great weekend,
S@ndy


Tuesday, March 20, 2018

Frame It

Today is the monthly designers challenge on the 
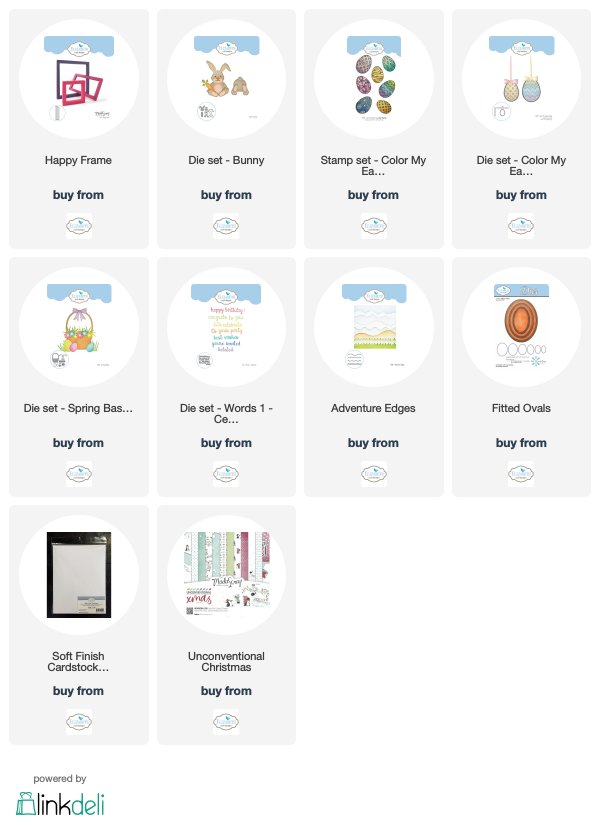
Elizabeth Craft Designs Blog and this month we are to FRAME IT.   I used the Happy Frame from the latest release and there are two sizes, the Happy Frame and Happy Frame XL.  These wonderful frames go together so easily that making a dimensional project is simple.

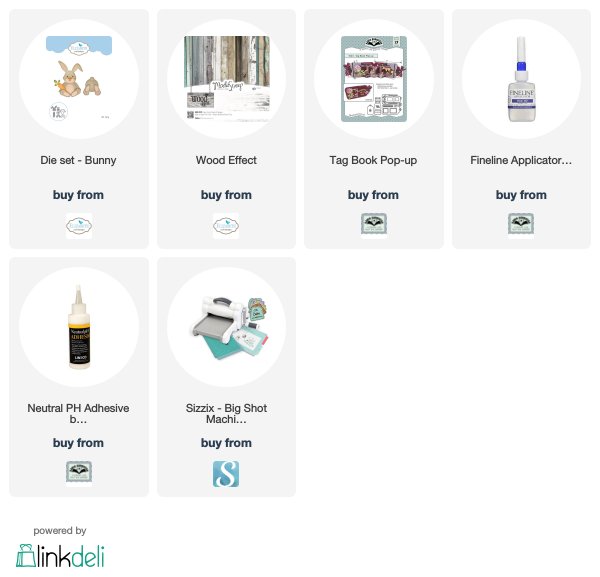
With Easter coming up soon - I used the Bunny in my frame.  So Cute!! 


For today's challenge Elizabeth Craft Designs are giving away a $20 Gift Card to use on our website to 3 winners


To enter simply leave a comment on the Elizabeth Craft Designs Challenge post and tell us What Elizabeth Craft Designs dies or stamp sets would you use to frame something on a card, scrapbook layout of home decor item?


We will select 3 lucky winners in a random drawing 


The winners will be announced on Friday, March 23rd on the Elizabeth Craft Designs blog.


Here's how to put my project together-

Beginning with the frame, cut out four sections.   Trim to desired size, this one is 6" X 8" on the outside measurement and 5" X 7" on the outside.  You can see a video from Els on how to assemble by CLICKING HERE.

Cut a panel for the inside for the frame that is 1/2" larger on both sides, score at 1/4" on each side and cut out corners as shown above.  Fold on creases. Cut three panels and using the Fitted Ovals cut an oval in each panel using a different size for each.  Build up the panels placing a panel of grass cut using the Adventure Edges between the ones in the back.  Trim panels to fit in frame.  This is not pretty from the back but not to worry, nobody will see it when finished.


Making a mask from the Clouds for the Adventure Edges, make a cloud background by inking the edges of the mask and then moving it down until panel is done.

Place at back of oval panels.

Cut out remaining items and place as desired.


Don't forget to stop over at Elizabeth Craft Designs Blog to see what the team has made and to have a chance to win a gift card simply by commenting.

See you there,
S@ndy

Thursday, March 15, 2018

Happy Birthday Els!


HAPPY BIRTHDAY ELS - It's a Design Team Bog Hop!!

Today is the birthday of our "fearless leader" Els van de Burgt, the creator of Elizabeth Craft Designs. To celebrate this special event the design team has done a Surprise Blog Hop.  We all made a card to post today in hopes that she will be surprised.  This was such fun and a pleasure to make something for Els. She is always so friendly, kind and generous. 

Here is my card -


It may seem a little strange but I used the Unconventional Christmas Paper from ModaScrap because it is all about gifts and really doesn't have any of the traditional Christmas colors.  It was perfect for this card.  Everything I used is linked below so you can shop simply by clicking on the product.


I kept the inside clean and simple with a space to write my personal message.

Here is the list of blogs for you to visit - you will be truly inspired!

                        Sandy Diller (you are here)

It doesn't get any better - Els has a gift for you on her birthday -

To celebrate Els' birthday, Elizabeth Craft Designs are giving out a gift when you place an order over $25 on the Elizabeth Craft Designs web site. You will receive 10 sheets of stickers with every purchase over $25. This special promotion applies to all orders placed from today Thursday 15th March until the end of day on Monday 19th March.


See you soon,
S@ndy

Thursday, March 8, 2018

Celebrate

Hi friends,

As I mentioned in one of my earlier posts, I've been caught up in the foiling craze so had to share a card made for our son's birthday later this month.  The cards and projects come out so beautifully and the shine is amazing, the only trouble is - taking photos - it's difficult! 


For this card I used a stencil from Elizabeth Craft Designs (ECD) and the decofoil Transfer Gel from Therm O Web.  

Using a Toner Sheet from Therm O Web I cut out the word "celebrate" from an ECD die.

When the gel was completely dry I attached the word to the page using glue and a fine tip bottle.  Using gold foil, I covered the entire piece.  Next I ran it through the Minc Machine on the #3 setting.  For the mat I used one of the new Foil Mates which shows just a little gold all around.
  
I love the way it came out and hope you have enjoyed seeing it.

Until next time,
S@ndy

Sunday, March 4, 2018

Happy 50th

Hi everyone,

Today I have a tutorial on the Dies R Us Inspiration Blog on how I made this 50th Birthday card.
I used lots of great dies from the Spring Release from Karen Burniston.  I hope to see you there.


Wishing you a creative week,
S@ndy

Thursday, March 1, 2018

Easter Greetings

Hi friends,

Today is my turn on the Elizabeth Craft Designs Blog and I'm sharing how I made this fun Easter project.  To see a complete tutorial.  Simply CLICK HERE.


See you there -
S@ndy